This is a new topic in 12.03.
This is a new topic in 12.04.
Content highlighted in yellow is new in 12.03.
Content highlighted in blue is new in 12.04.
Right-click the contract for which you want to update the workflow, or left-click the contract and click the menu icon  , then click Update Contract Workflow. This opens the Update Contract Workflow for window.
There are two criteria that a contract workflow must satisfy in order to be valid.
Firstly, each workflow level must have a higher approval limit than the next one down (level two must be higher than level one, level three higher than level two and so on). This also means that if one level has an unlimited approval limit, every level above it must also be unlimited.
Secondly, to avoid notices getting stuck, the highest-level role must be unlimited and at least one user must be assigned to an unlimited role.
Managing Workflow Roles
This section will cover creating and deleting workflow roles. You can also edit the details of any existing workflow role from the Update Contract Workflow for window by clicking on the entry you wish to change, entering the new value, then clicking elsewhere inside the window to save. In the case of the Unlimited column, you can click the tick  to change it to a cross
  and vice versa (note that you cannot remove unlimited status from a workflow level if a lower level is still unlimited).
To add a workflow role:
-
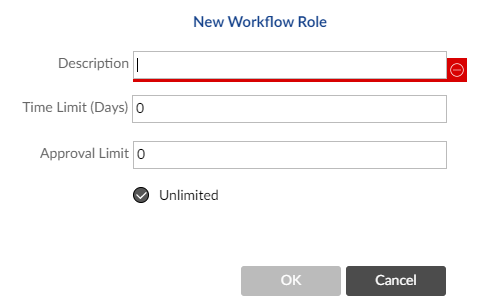
Right-click a role on the list or the space underneath and select Add Workflow Role. This opens the New Workflow Role window.
-
Enter the name of the new role in the Description field then enter the Time Limit and Approval Limit of the role. If you wish for the new role to be unlimited, leave the checkbox ticked.
-
Click
 to save the workflow role.
To delete a workflow role:
-
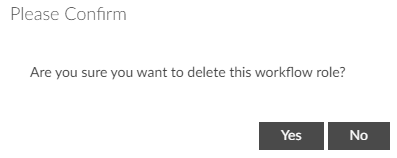
Right-click the role on the list, or left-click the role and click the menu icon
, then select Delete Workflow Role. You will receive a warning message asking if you are sure.
-
Click
 to confirm the deletion.
Adding and Removing Users from a Workflow Role
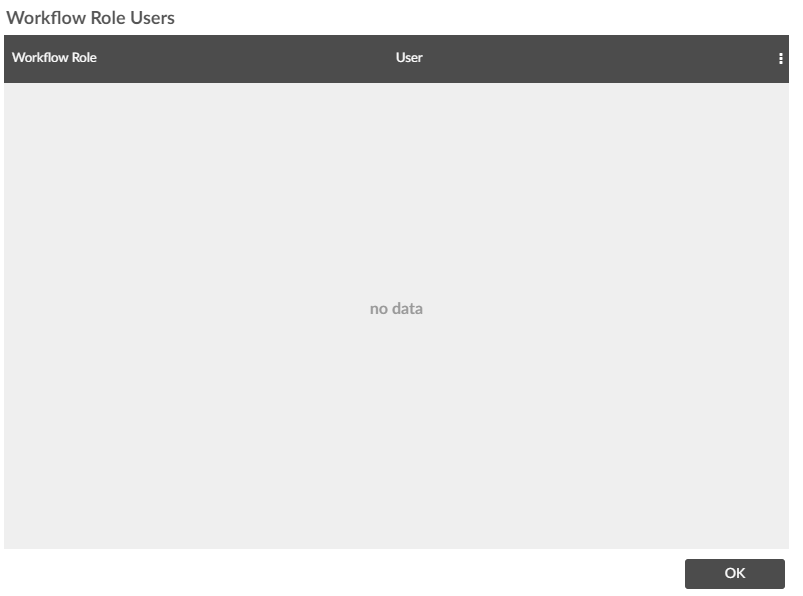
To manage the users assigned to a workflow role, right-click the workflow role, or left-click the role and click the menu icon , then click Manage Users. This opens the Workflow Role Users window.
To add a user to the workflow role:
-
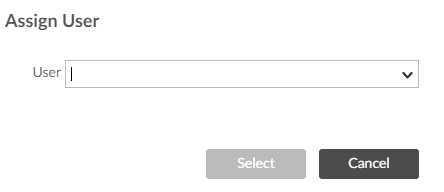
Right-click the grey space, then click Add User. This opens the Assign User window.
-
Select the user you wish to add from the drop-down menu, then click
 .
.
To remove a user from the workflow role:
On the Workflow Role Users window, right-click the user you wish to remove from the role, or left-click the user and click the menu icon then click Remove User.